Yes, you read that right, I got the parts, learned how to do it and went ahead and assembled a wristwatch.
There are two reasons I did this, I for one I was interested in the process and wanted to see if I could get a working watch out of this and how well it would be quality wise. The second reason is, I am a huge fan of the Rolex Explorer II with the white dial, but the asking price for this thing is just to high for me.
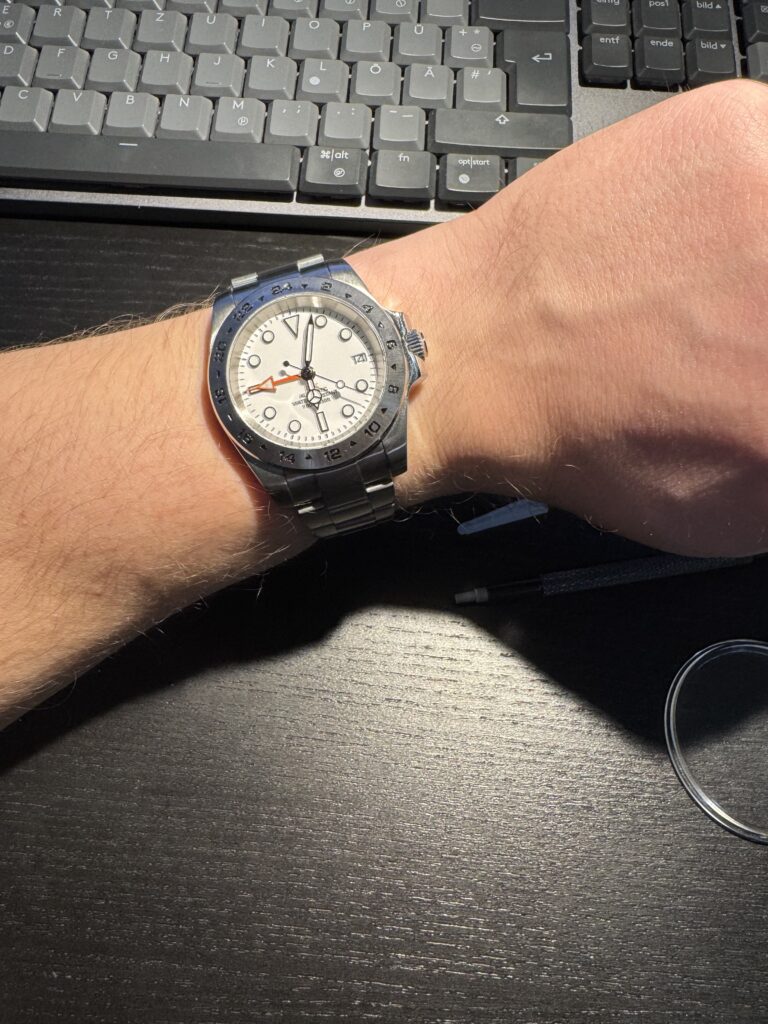
So with no further rambling, this is what came out of this project:

As you can tell I very much looks like the watch that inspired this build.
So let me walk you through the process.
Getting the parts needed
What you need in general is a movement, a dial, hands, a case and some sort of strap plus a couple of tools. You can get away with a set of hand pushers and a pair of pliers to cut the stem.
As for the movement, the community around building watches like these has pretty much settled on two movements, the Seiko NH-35 and NH-34. They are both the same size, only difference is, the NH-34 has a GMT function.
The size is important though, given their popularity you can get pretty much any case and dial to fit it and there are tons of those on various retail sites, I got all parts of Ali Express.
What I went with:
The White GMT Dial and Hands Set by XUANCE
The GMT Case and Bracelet Set by Tandorio
The Seiko NH34
All in all the cost of this went up to 130€ including transport and taxes
Assembly
This is fairly easy, all you need is patience and a steady hand. Also wear gloves to avoid fingerprints on the inner parts.
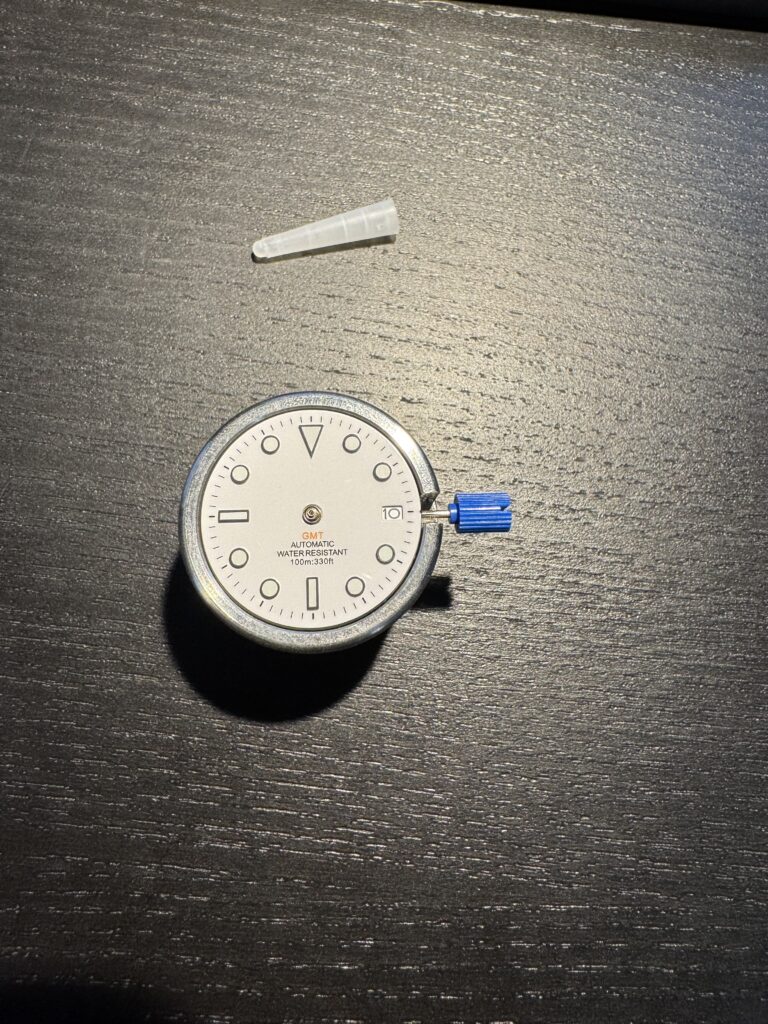
Step 1: Place the Dial on the movement. This is straight forward, the dial has little feet that go into matching holes on the movement, the date window is to be on the right side next to the temporary crown.
That should look something like this:
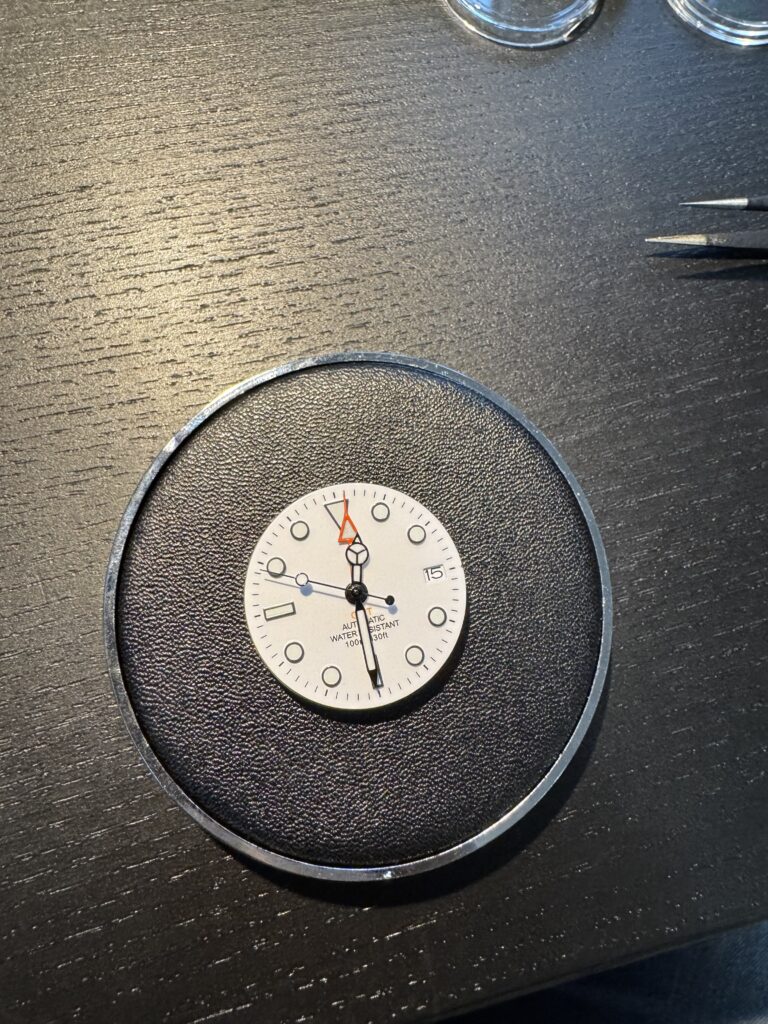
Step two: Placing the Hands
This is certainly the most annoying part of the entire process, what you do is you turn the crown for as long as it takes to make the date jump, which means you found midnight, then you place your first watch-hand. In this case the GMT one. The order goes gmt, hour, minute and then finally second hand.
You place them and then push them down using a hand pusher, which basically is a pipe that friction fits the hand on the pinion.
But if you are a stupid perfectionist as I am, you are likely to place each hand a couple of times, remove it again and replace it until all 3 main hands are perfectly aligned at 12 for the switch to midnight. Because that is something you are going to see so often it warrants wasting an hour on hand-placement. Yes, that was sarcasm.
Anyway now you get to place the second hand, which is a bit different, because that one doesn’t go around the pinion, but is inserted into it and a particularly finicky process.
At the end it should look like this:
Now just flip it around without damaging the hands, push the crown release and remove the temporary crown.
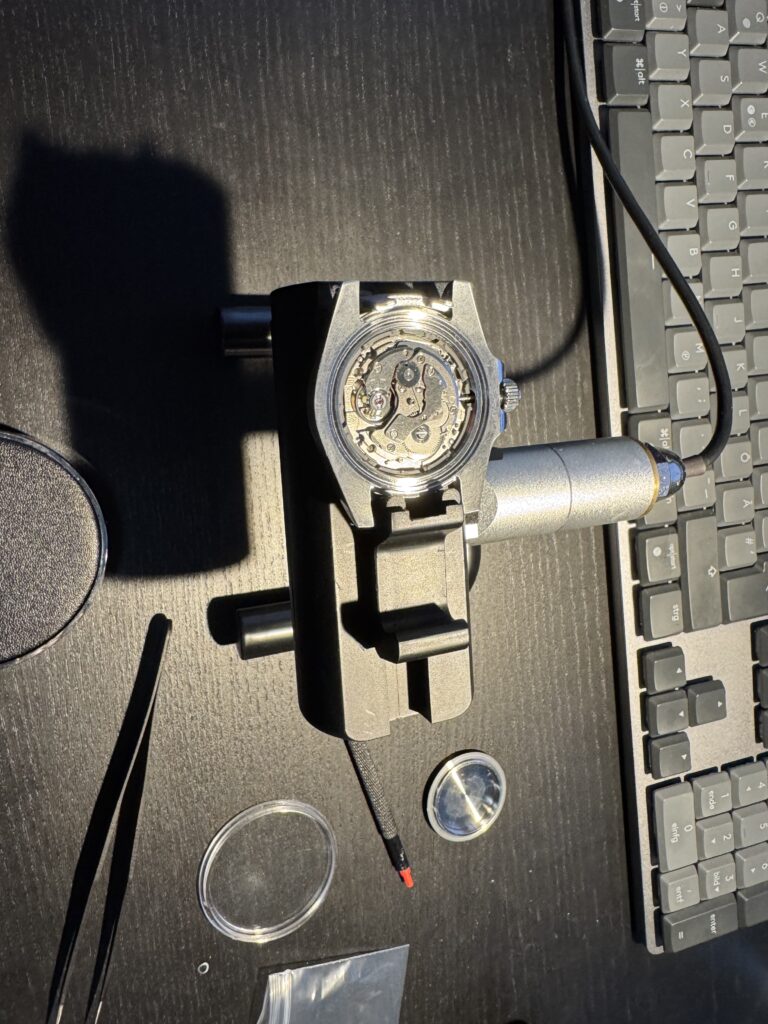
Step three: Placing the movement into the case
This is another fun part, because you have to get the alignment of the case and the movement right, if you don’t apart from looking crooked, you won’t be able to install the final stem and crown to you watch. Again the assembled movement is friction fitted to the case, meaning you put the case over the dial, align it and push down, hoping for the best, if you messed up, you get the joyful task of removing the movement from the case without doing damage to either. After you are done it should look like this

Step four: cutting the stem
This is a bit tricky, your movement comes with the temporary crown and the stem for the final crown, which you need to cut to the perfect size.
In my case, the case has a screw down crown making it a bit more difficult, but the process is as follows, push the crown and stem in until it’s locked, you can check that by pulling it out, if you can remove it without the release, you haven’t gone all the way, if it locks up and you can adjust the hands, you are golden. Now push it in all the way and hold it, measure the distance between the case and the crown and remove the stem again, now remove the crown again and cut of the measured length. Put the crown back on and install it, screw it down and hope you didn’t cut to much of. If it fits, remove it again, and glue down the crown to the stem.
Step five: calibrating the movement
This step is optional, because it’s a cheap watch built from parts you got out of China, nobody is going to care how accurate it is. But again, if you are me you are going to want it to be running precisely, so put it on the timegrapher and play around with the adjustments until its accurate enough for you in the four main positions (dial up, dial down, crown up, crown down).
In my case:
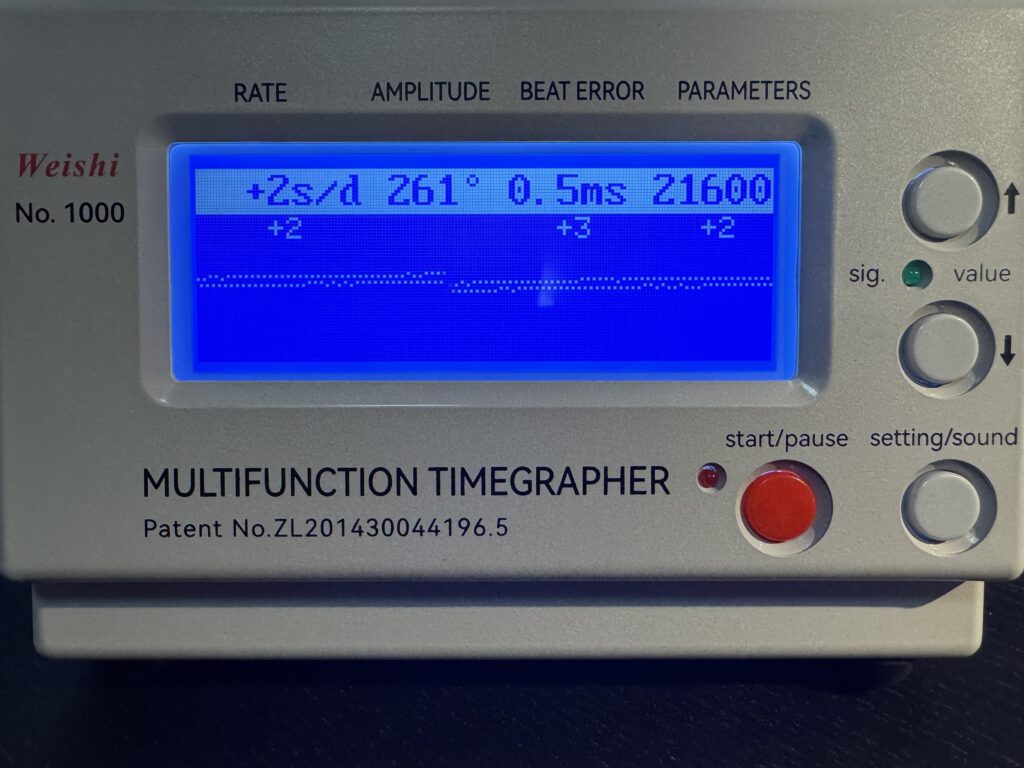
Yeah, that’s +2 seconds a day dial down and on average I am at around +3 seconds a day, not to brag or anything…
Anyway, of to step six: Screw on the back, attach the bracelet and adjust it, set the time and you get to wear your own watch for the first time:
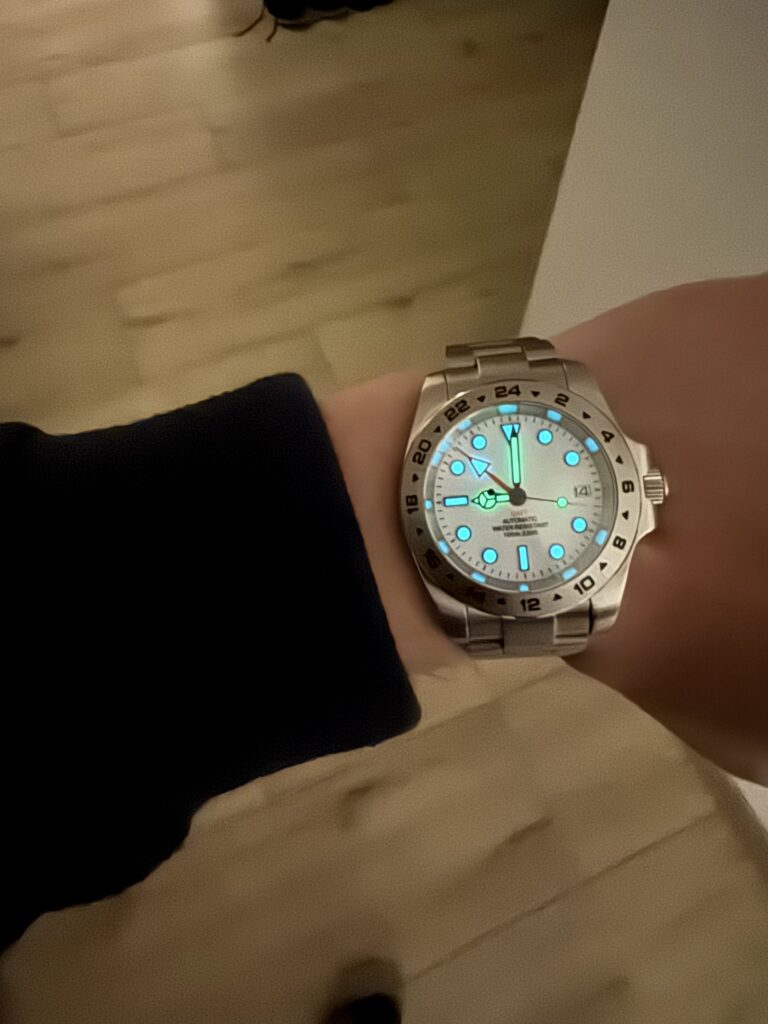
Not sure, why my iPhone went to potato mode on the final shot, but loom is also rather good I guess:
Conclusion:
Did I manage to build my own watch? Yes I did.
Am I happy with it? Hell yeah!
As for the question about quality:
For 130€ I could gather all the needed parts for a watch and in particular the quality of the case and the bracelet exceeded my expectations, the bracelet even has an on the fly adjustment for the length which you start finding at watches at around 1000€ but more commonly appears around the 4000€ range.
We compared it to my fathers GMT-Master II and the case is a spot in Oyster case, the bracelet even tampers. The links are screwed in and not using the cheap pusher style connectors.
So honestly dear watch companies, that on the fly adjustment and proper bracelets aren’t that expensive and make a lot of a difference in comfort for the wearer, please add that to all bracelet watches no matter the price range you are in.
And before someone screams at me, that I shouldn’t wear a fake watch, I am not it doesn’t say Rolex anywhere on it, I wouldn’t buy or wear it if it did. It’s not a fake it’s just a somewhat nice copy that doesn’t pretend to be the original.
But I do know now, how good the original would fit me and I am turning 35 next year. Kind of a big birthday I guess. Starting to feel sorry for my bank account…